Kubar CLI (KLI)
The Kubar Command-Line Interface (CLI) is an efficient tool for creating and managing applications based on the Kubar platform. This CLI is compatible with Docker commands, making it easy to build, configure, and edit applications using familiar commands.
Key Features
- Compatibility with Docker commands and ease of use
- Support for Linux operating systems
- Simple installation and setup process
- Integration with CI/CD automation pipelines
- Broad access to your applications on Kubar
Installation
- Linux
- Windows
Debian
- To install on Debian-based Linux distributions (e.g., Ubuntu), download the kli.deb file.
- Then run the following command:
sudo dpkg -i kli.deb
RedHat
- To install on RedHat-based Linux distributions (e.g., CentOS), download the kli.rpm file.
- Then run the following command:
sudo rpm -i kli.rpm
- To use on Windows operating system, first download the kli.exe file.
- Then transfer the file to your desired location and in that directory, run the command:
along with your desired command in Powershell.
./kli.exe
Connecting to Kubar
To connect and manage your applications on Kubar, you first need to retrieve your account’s API Key.
Retrieving the API Key
-
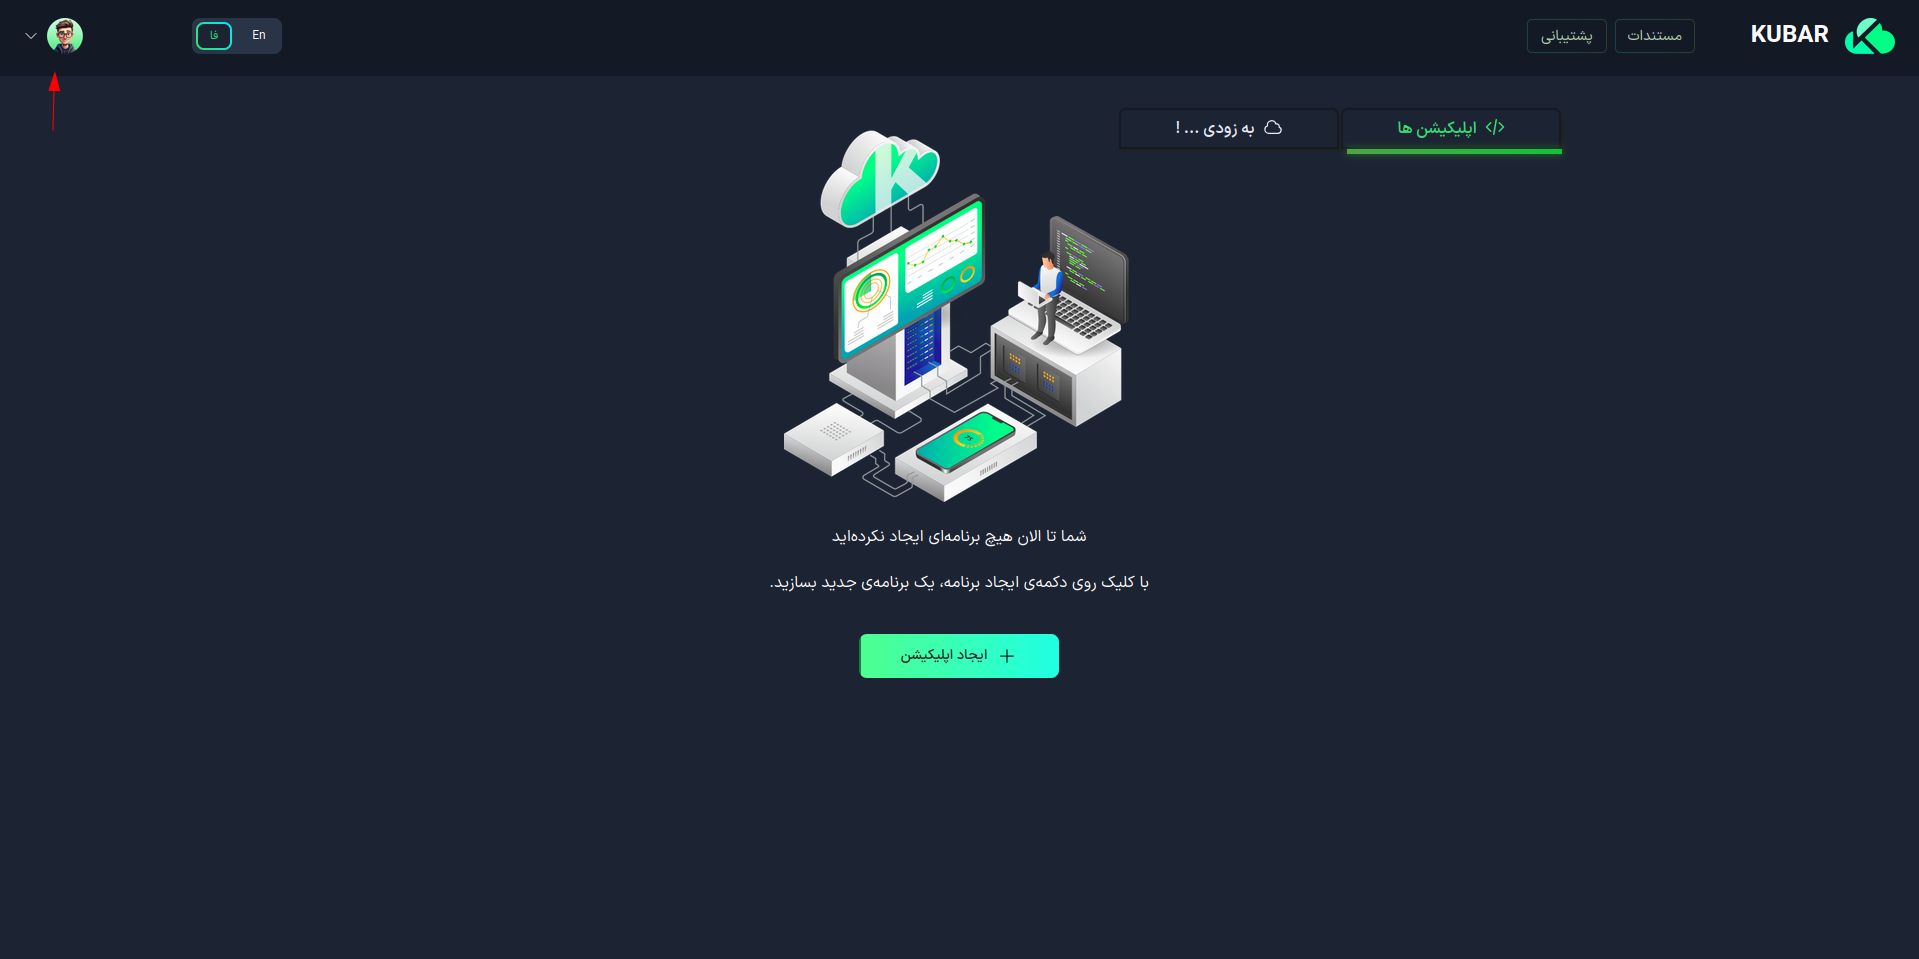
Visit the Kubar website and log in to your account.
-
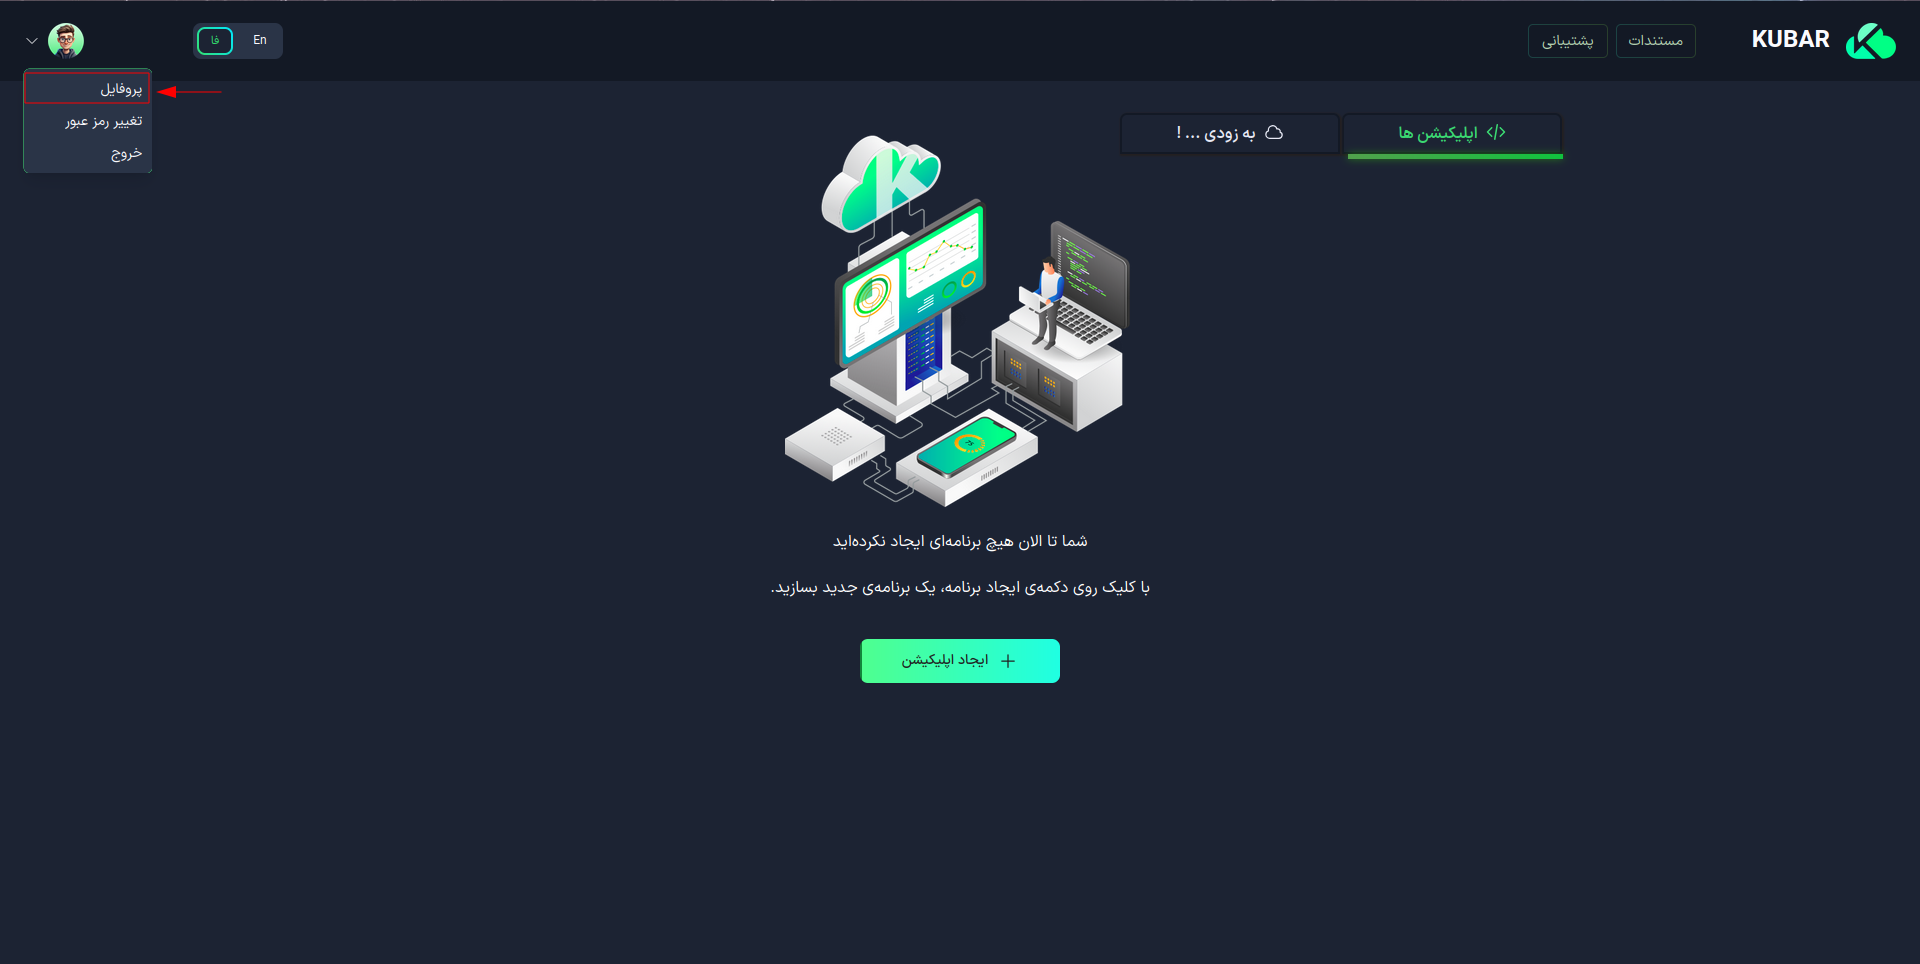
In the dashboard, click on your profile.
-
Select the Profile option.
-
On the profile page, click on the option next to API Key.
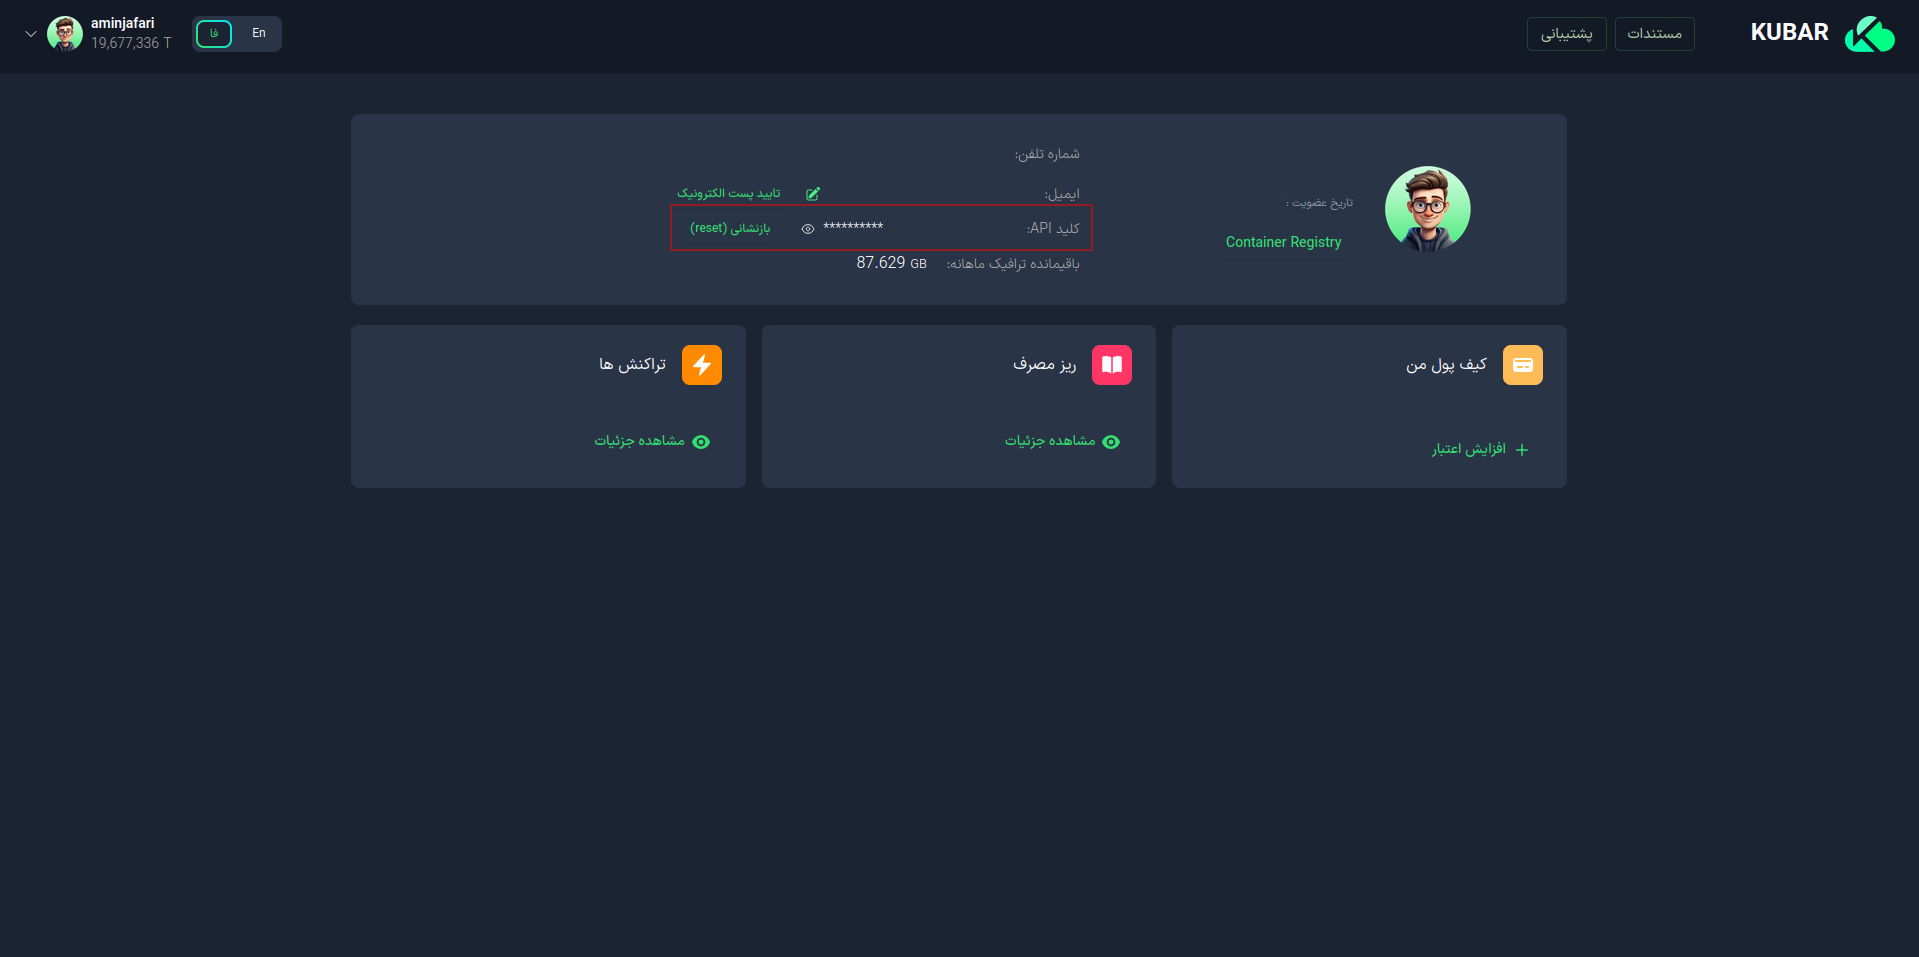
After obtaining your API Key, run the following command:
kli login
Then, when prompted with Enter your API Token, enter your API Key.
KLI Capabilities
-
Creating Applications:
-
Create applications using ready-made programs and databases from Kubar:
kli run kubar:mysql:8.0.25 --name mysql --disk 5 -c 1000 -m 2000 -dDetails:
kubar:mysql:8.0.25: Creates a MySQL database with version 8.0.25disk 5: Sets the disk size to 5 GBIf you omit
disk, a default 1 GB disk will be assigned.name mysql: Sets a custom name for the databaseIf you omit
name, a random name will be generated for your application.c 1000: Allocates 1 CPU corem 2000: Allocates 2 GB of RAMd: Suppresses the application logs after creation
-
Create applications using Docker images:
kli run mysql:8.0.25 -d -
Deploy projects by uploading a folder or compressed file:
kli deploy -f /paht/to/projectApplication Build and Update Command-
Initial Build: If you are using this command for the first time, the application will be created, and your project will be built. In this case, there is no need to use additional flags.
-
Update in CI/CD: If you intend to use this command in CI/CD to update the application, you must use the --name flag in both the build and update stages.
-
-
-
Loading and Managing Projects with Docker Compose
-
Use the following command to build and update your project:
kli compose -f /path/to/project/docker-compose.yml upImportant Notes:- If you have edited the docker-compose file after building your applications, you can update your project using the same command.
- For CI/CD implementation, make sure to use the
--forceflag to prevent issues during updates.
-
Service Management
-
Stop Services
kli compose -f /path/to/project/docker-compose.yml down -
Restart Services
kli compose -f /path/to/project/docker-compose.yml restart
-
Additional Notes- Always specify the complete path to the docker-compose.yml file
- Before executing commands, verify the path and content of the docker-compose.yml file
-
-
Displaying Application Status
-
Stopping, Starting, Restarting, or Rebuilding Application
-
Deleting Application
-
Adding or Removing External Ports for Applications
-
Viewing Application Logs
-
Executing Commands Directly in the Application Terminal
-
Viewing Application Details (e.g., type, resources, environment variables, status, and scheduling)
-
Modifying and Adding the Following:
- Application resources
- Environment variables
- Application mounts
- Scheduling
Example Use of KLI in CI/CD
To manage and update your project in GitLab, you can create a .gitlab-ci.yml file in your project.
Example of a .gitlab-ci.yml File
stages:
  - build

build-app:
  stage: build
  script:
    - kli login -t $KLI_TOKEN
    - kli stop -f app
    - kli deploy --name app -d
    - kli logout
  tags:
    - your-runner
Storing the API Token: To maintain security, it is recommended to store your API token in GitLab CI/CD environment variables.
Usage in the .gitlab-ci.yml File: After storing, you can use this token in the gitlab ci configuration file.